Control Text Rendering
All objects that can contain text in SmartBuilder can have their text set to render with one of three options.
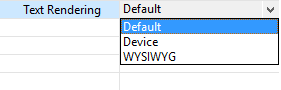
- Default: Allows for lesson wide rendering control.
- Device: Uses fonts installed on each learner's computer.
- WYSIWYG (What You See Is What You Get): Smartbuilder draws all the characters.
| |
Pro |
Con |
| Default |
Allows for lesson wide rendering control. |
None |
| Device |
It's a little bit crisper and will render a little faster at runtime. |
If you use a font that the learner doesn't have installed on their device, the text will use a different font. Even if the font is installed on the learner's device, the spacing/wrapping may be slightly different. |
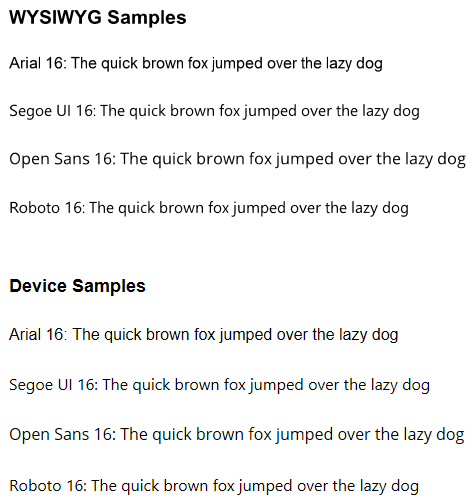
WYSIWYG
(What You See Is What You Get) |
Text will look exactly the same and spacing/wrapping will be consistent on all devices. |
Small text is slightly less crisp. Not really noticeable on larger text sizes. If text of this type is set programmatically it will automatically switch to using device.
|
Best practice suggestions:
- Use Arial Device for body text since it is supported on almost all devices and will be a bit crisper to read.
- If margins are tight (e.g. there isn't much space b/w text and the objects below it) then consider using WYSIWYG text to ensure text wrapping doesn't cause text to overlap objects below the text.
- If you use WYSIWYG text, try out some some alternatives to Arial since these may be crisper.
- If you want to introduce interesting fonts, use these for headings and set the text to WYSIWYG.
- Or, if you want to use device fonts, use the technique described below to ensure all learners can see any font you want to use in your lesson.
How to bundle fonts with your lesson after publishing
Including the fonts files within your downloaded lesson can give you the most flexibility as you can use unique fonts that learners may not have on their computers as well as set such text programmatically. There are two main ways you can accomplish this.
- Download the Google font you want to use and install it on your computer.
- Use the font in your lesson and make sure to use the Device font setting.
- Publish your lesson for deployment.
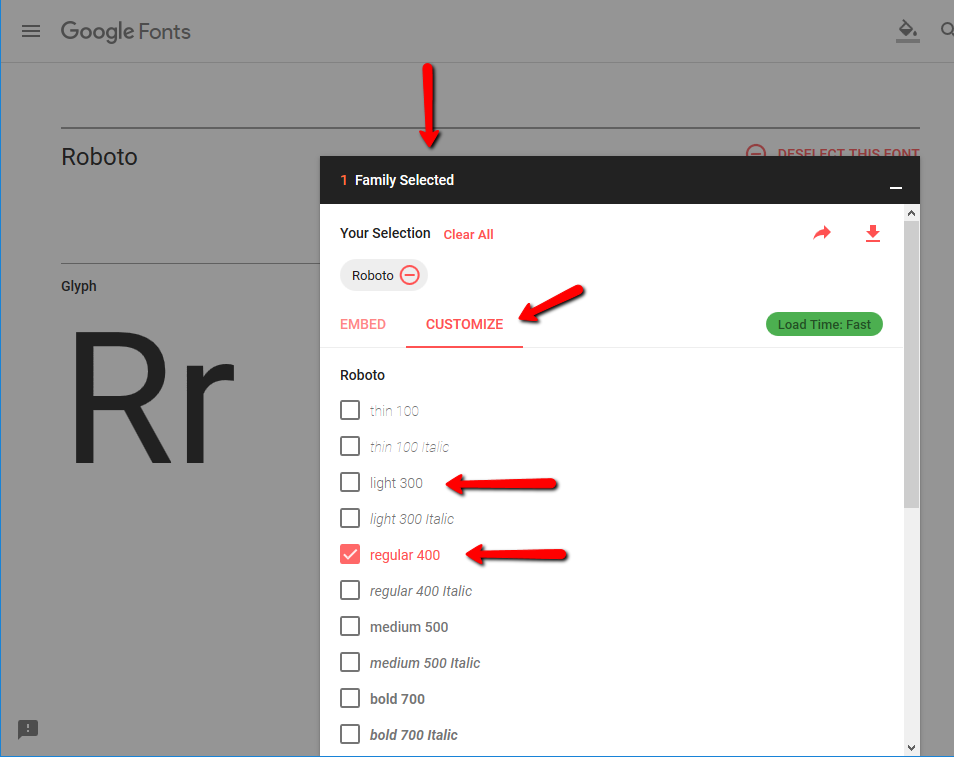
- Find your font in Google fonts and select it.
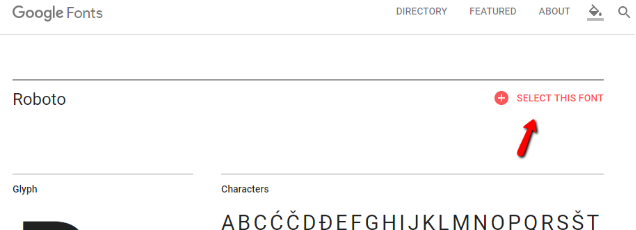
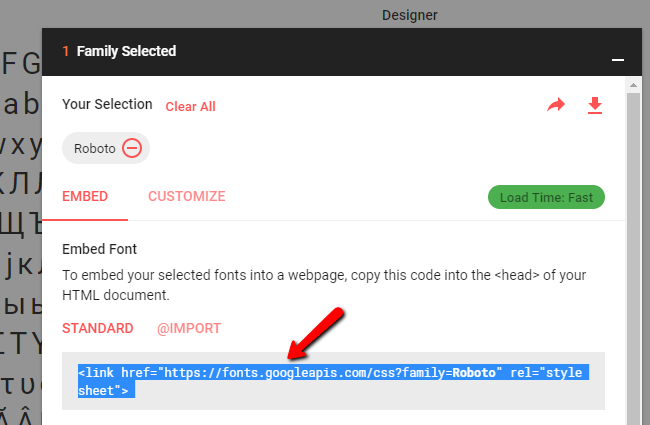
- Expand the font selection panel and copy the standard embed code.
- Open the index.htm file of your published lesson in a text editor such as notepad or Dreamweaver.
- Paste the embed code in the <head> section of your HTML document.
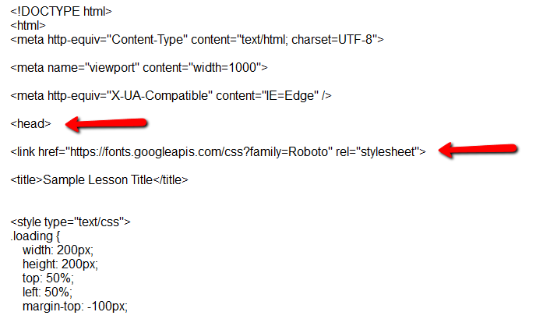
- Save the index.htm file.
- Test on a computer or device that does not have the font installed.
- Repeat as needed for other fonts.
Note This technique will only allow for the embedding of the main font in the Font family selected. To embed the other family sub-fonts in a lesson use the method below that includes the actual font file within the lesson.
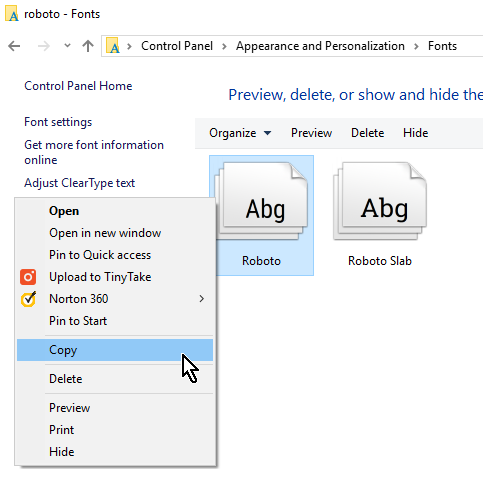
- Download the fonts you want to use and install them on your computer.
- Use the fonts in your lesson and make sure to use the Device font setting.
- Publish your lesson for deployment.
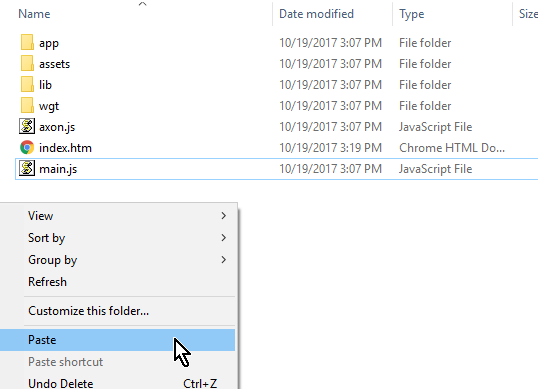
- Add the actual font files to the folder that contains your published lesson.

- Open the index.htm file of your published lesson in a text editor such as notepad or Dreamweaver.
- In the <style> section of your index.htm document, add code similar to what is in the image below.
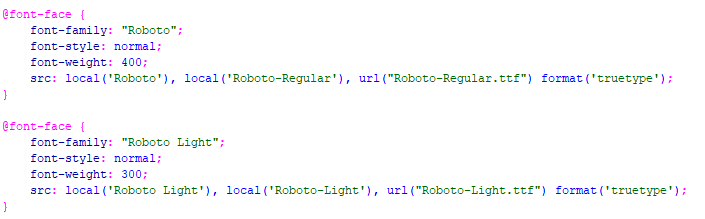
Tip To find the font-family name open the actual font file and the first line should list the font name.
Tip To find the weight look in the Google Font selection Customize tab.
- Save the index.htm file.
- Test on a computer or device that does not have the font installed.
- Repeat as needed for other fonts or family sub-fonts.