Control How Text Appears on Learners' Devices
No embedding is needed if...
If the only font you are using is Arial (SmartBuilder’s default font), you don’t need to do anything. Arial is pre-installed on Windows and Mac OSX. Some mobile devices may not have Arial pre-installed, but these will switch to a font that is very similar to Arial, so it will be almost impossible to notice any difference in how the font appears.
What if I'm using fonts other than Arial? If you are using SmartBuilder on a corporate computer and are only delivering content to similarly configured computers (which have the same fonts installed as you do), you probably do not need to worry about embedding fonts; the fonts that you use will probably be pre-installed on your learners’ computers, so fonts will appear as intended.
Embedding may be needed if…
If you're using SmartBuilder on a computer (e.g. a Mac) and are delivering content to learners who may be on a different device (e.g. a Windows computer, or a mobile device), and you are using fonts other than Arial, then you should embed your fonts in your lesson to ensure that they look as intended.
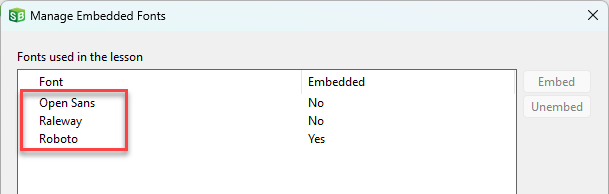
How to know which fonts are used in your lesson
Follow steps 1-2 below in the How to embed fonts with your lesson topic.The Manage Embedded Fonts window will list all the fonts used in your lesson.
How to embed fonts with your lesson
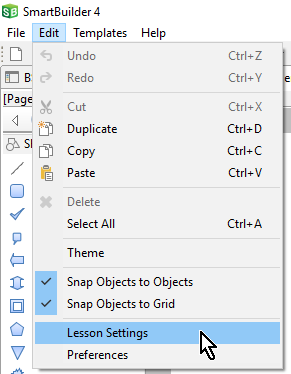
- On the Edit menu, click Lesson Settings.
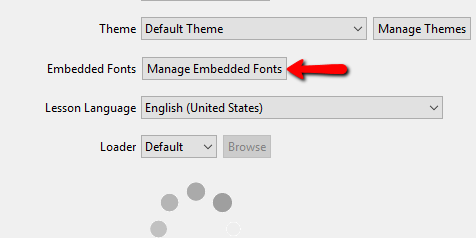
- In the Lesson Settings window, click the Manage Embedded Fonts button.
- Select the font that you want to embed then click Embed.
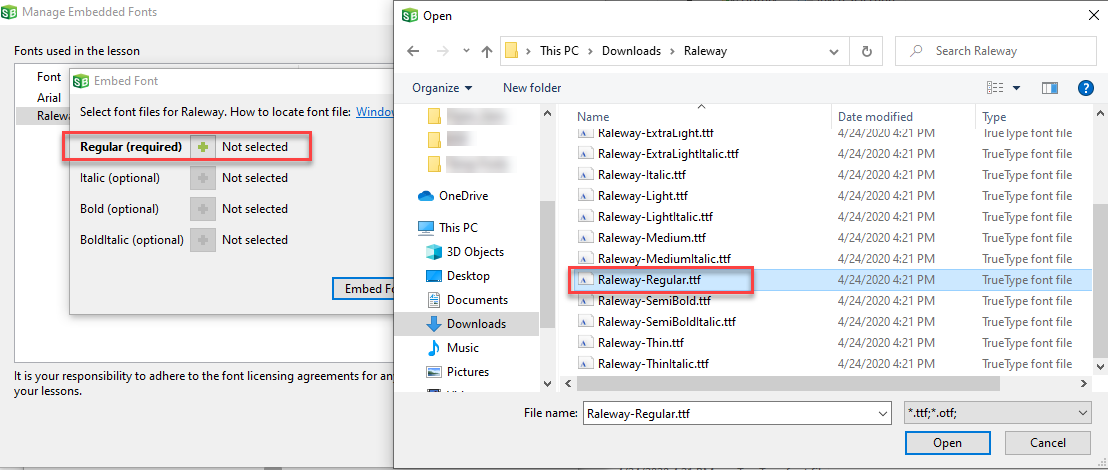
- If this is the first time you’re embedding a particular font, you’ll see the Embed Font window. Click the plus "+" button and select the font face you wish to embed. You’ll need to start with the Regular font face.
NOTE If you don’t select a font file for Italic, Bold or Bold Italic, the operating system will often be able to render these font faces based on the Regular font face. However, if you can import the font files for these variations, the text rendering will usually be higher quality.
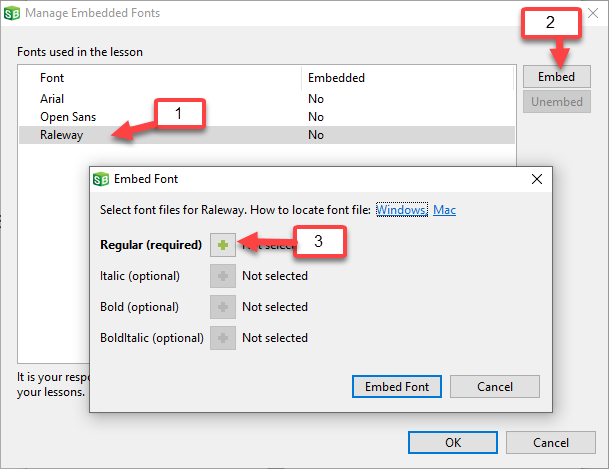
- Select the font file that matches the font face in the Embed Font window. In the example below, Railway-Regular.ttf is selected for the Regular font face.
If you can’t find the font file on your computer, you should be able to download it from the font publisher, such as https://fonts.google.com/. If this isn’t possible, you can find font files installed on your computer as follows:
Windows: Fonts files are located in the \Windows\Fonts folder. This folder is hidden when you use the file browser window.
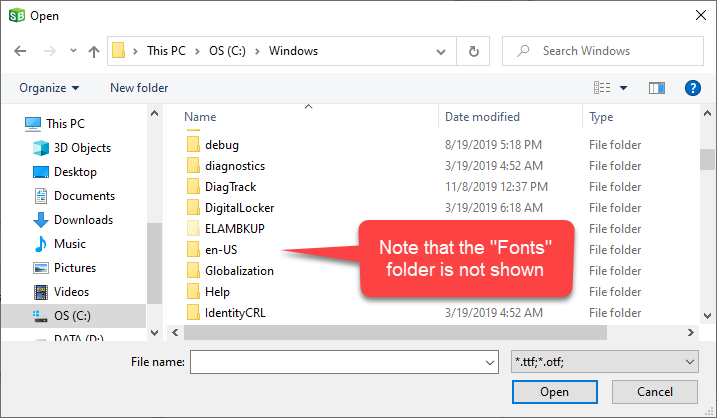
You will need to copy the font files you wish to use out of the \Windows\Fonts folder and place them in a temporary folder in order to select them from the file browser window shown above.
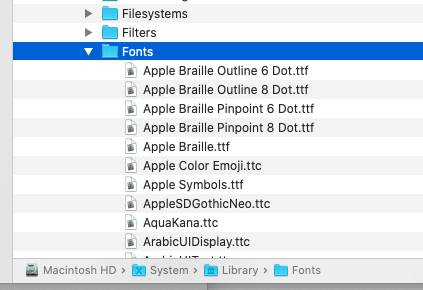
Mac: Fonts files are normally located in System > Library > Fonts folder
NOTE It is your responsibility to adhere to the font licensing agreements for any fonts you wish to embed in your lesson.
Update or remove fonts installed in SmartBuilder
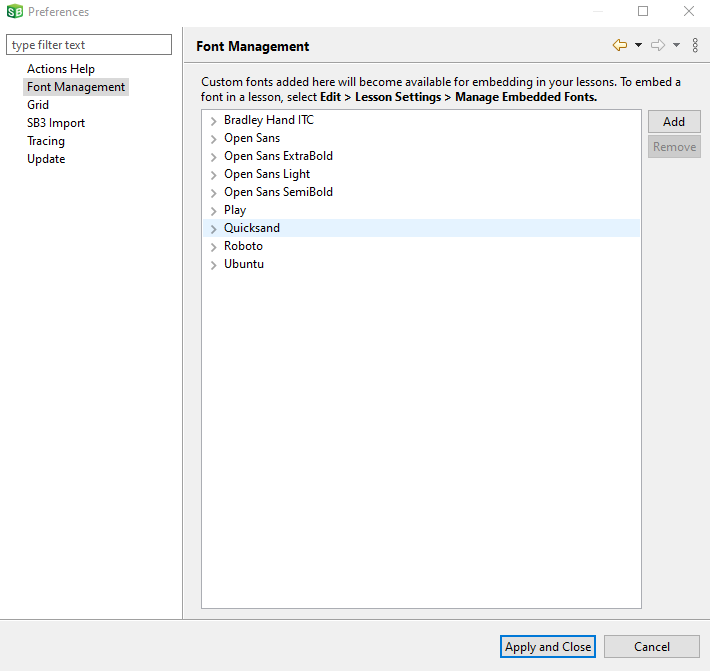
The first time you embed a font in a lesson, the font is installed in SmartBuilder so you can embed it again with a single click; you won’t need to import the font files again. If you want to uninstall or update a font file (e.g. if you selected the wrong font file and want to correct it), select Edit > Preferences > Font Management. Here you can remove or reinstall fonts.
Text Rendering Options
All objects that contain text in SmartBuilder can have their text set to render with one of three options.
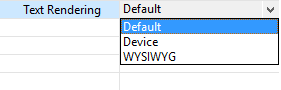
- Default: Uses the rendering (Device or WYSIWYG) that is set globally for the lesson via the Lesson Settings window.
- Device: Uses fonts installed on each learner's computer, or bundled with the lesson. When this is selected, it will override the rendering option that is selected in the Lesson Settings window.
- WYSIWYG (What You See Is What You Get): Smartbuilder draws all the characters - this is similar to converting the text into an image, but requires less file size than an image. When WYSIWYGis selected, it will override the rendering option that is selected in the Lesson Settings window.
| |
Pro |
Con |
| Device |
Text is a little bit crisper and will render faster during authoring and at runtime.
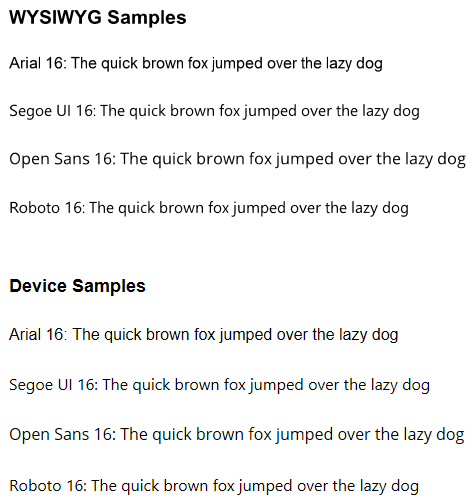
NOTE You will not notice any difference between Device and WYSIWYG rendering while authoring. You must preview to see the differences.
|
If you use a font that the learner doesn't have installed on their device, a different installed font will be used instead. However, this can be addressed by embedding fonts into your lessons.
Even if the font is embedded, the spacing/wrapping may be slightly different on different browsers and between the authoring stage and preview.
|
WYSIWYG
(What You See Is What You Get) |
Text spacing/wrapping will be identical between the authoring stage and preview andon all learner devices, regardless of whether or not the font is installed on the learner’s device. |
Text is slightly less crisp. Not as noticeable on larger text sizes. If text of this type is set programmatically it will automatically switch to device font. Large lessons with many text objects will load pages more slowly during authoring.
|
Best practice suggestions:
- Use device font since it is crisper and loads faster, unless margins are tight and can’t be adjusted (i.e. there isn't much space between text and the objects below it). In this case, consider using WYSIWYG text to ensure text wrapping doesn't cause text to overlap objects below it.
- If you use WYSIWYG text, try out some alternatives to Arial since these may be crisper.
- If you want to use fonts other than Arial, which may not be installed on your learners' devices, use the techniques described above to embed the fonts with your lesson. This will ensure all learners can load any font you use in your lesson.