Web Object Properties
The web object is a borderless window to a html source outside of the lesson. It is similar to an iFrame and can be used to show web content, embed code, or specific assets.
- Select the web object you want to edit.
- In the Properties panel, click URL.
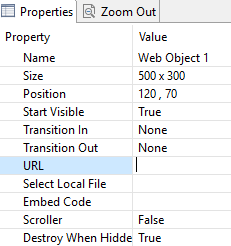
- Enter the web address of the content you want your Web Object to display.
Note The Web Object will not show its content on the authoring stage, but will show it while previewing as well as in the published lesson.
Tip Be sure the size the Web Object to allow your web content to display without being cut off. If you need your Web Object to allow for scrolling, change the Scroller property from its default setting of False to True.
Select Local File
- Select the web object you want to edit.
- In the Properties panel, click Select Local File.
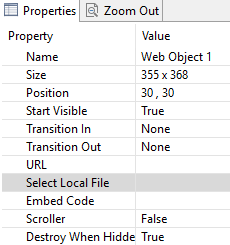
- This will cause a pop-up to appear.
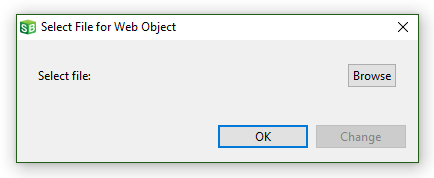
- Click Browse to find the file on your computer.
Note Web assets can be files such as PDF, JPG, GIF, PNG, and HTML. Also an entire HTML project can be zipped up and shown via the web object. Click here to explore that process.
- Once you browse and select your file the pop up will look similar to the image below.
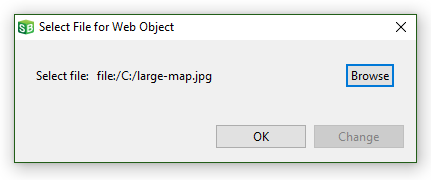
- Click OK.
Select Local File: Zip Archive
- Select the web object you want to edit.
- In the Properties panel, click Select Local File.

- This will cause a pop-up to appear.

- Click Browse to find the zip file on your computer.
- Once the zip file has been selected a secondary pop-up will appear.
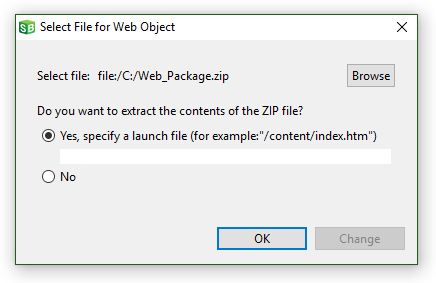
- Enter the name of the lauch file.
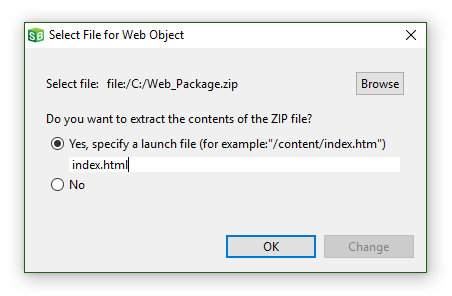
- Click OK.
Embed Code
- Select the web object you want to edit.
- In the Properties panel, click Embed Code.
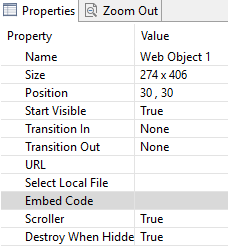
- A pop-up will appear.
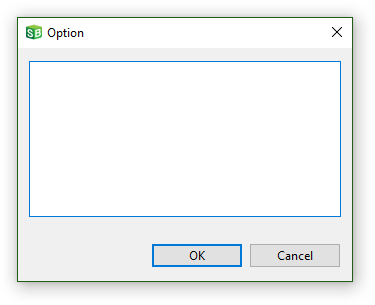
- Copy and paste your embed code here.
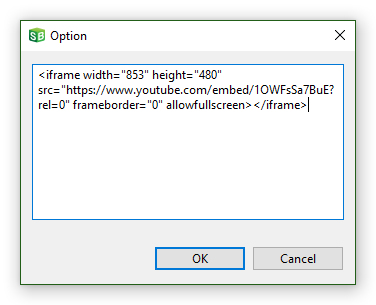
- Click OK


