Set up a timeline animation
Use the Timeline to show and hide objects in relation to a timeline or to an audio file.
Adjust bars to show and hide objects
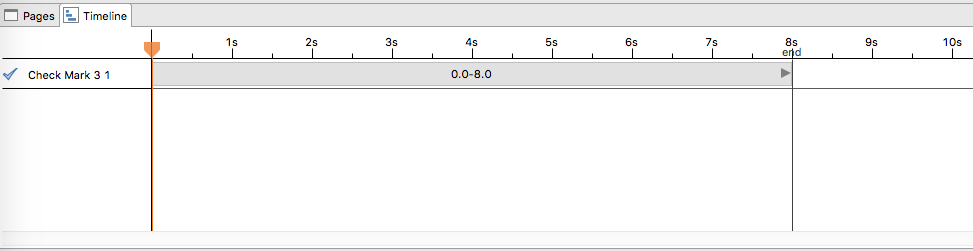
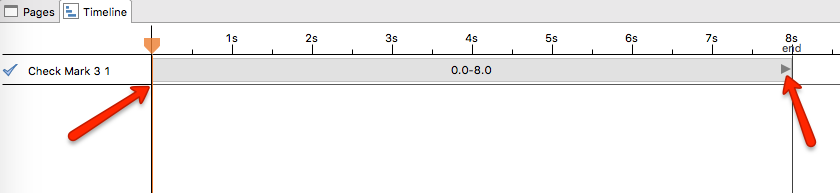
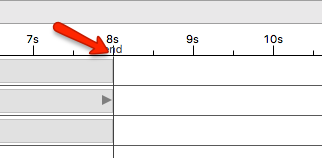
In the screen capture below, the timeline is set up to show the object at 0 seconds. The arrow on the right side of the timeline indicates the object is attached to the end of the timeline and will continue to show beyond the 8 second timeline.
Change the point at which the object shows
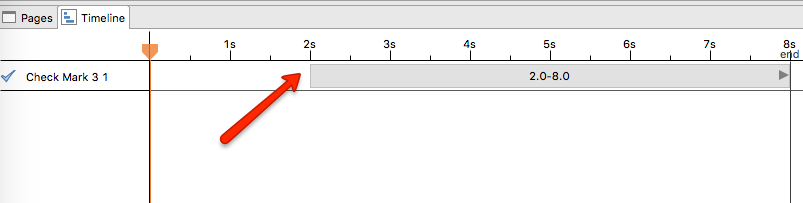
- To change the point at which the object will show, press and drag the left edge of the timeline. The screen capture below shows the timeline adjusted to display the object after 2 seconds has elapsed.
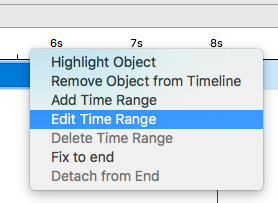
- You can also right-click the timeline and choose Edit Time Range.
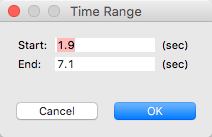
- Edit the Start and End times as needed.
Change the point at which the object hides
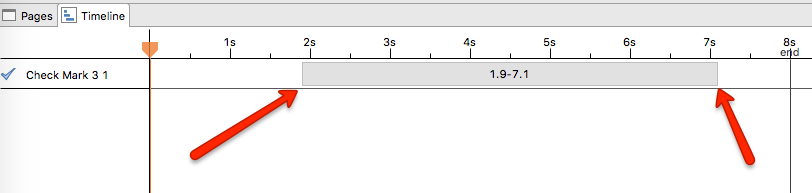
- To change the point at which the object hides, drag the right edge of the timeline to the desired timing. The screen capture below shows a timeline beginning at 1.9 seconds and ending at 7.1 seconds.
- You can also right-click the timeline and choose Edit Time Range.
- Edit the Start and End times as needed.
Make objects hide at the end of the timeline
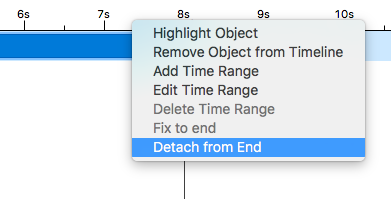
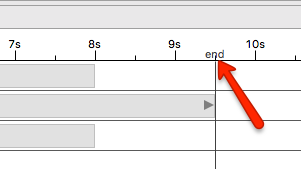
- To detach the timeline from the end, right-click the timeline and choose Detach from End.
Make objects remain visible at the end of the timeline
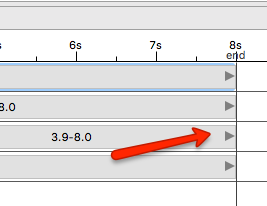
By default, objects added to a timeline are fixed to the end of the timeline. This means that the objects remain visible at the end of the timeline. In the screen capture below, the timeline objects are fixed to the end. The grey triangle is the indicator of that state.
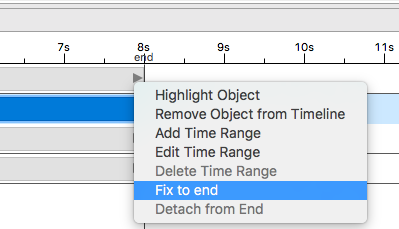
If you do not see the grey triangle and want to fix the object to end of the time timeline, right-click the triangle and choose Fix to End.
Set timeline duration
- Point to the end of the timeline until the mouse pointer changes to a hand.

- Drag the timeline end to the desired time. In the screen capture below, the timeline has been extended to 9.5 seconds. The second object remains attached to the end of the timeline.
Change the scale of the timeline
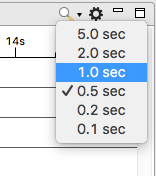
- Click Scale Timeline.

The scale of the timeline will toggle among settings of 5.0, 2.0, 1.0, 0.5, 0.2, and 0.1 seconds.
- You can also click the Scale Timeline dropdown and choose a scale.
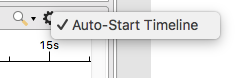
Make timeline not start automatically
By default, the timeline starts automatically when the page loads.
- Click Settings.
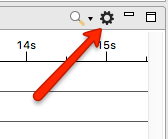
- Click the check mark next to Auto-Start Timeline.
Create a cue point
You can create cue points along a timeline, which can then be used to fire an action. To create the cue points:
- Right-click the timeline and choose Create Cue Point.
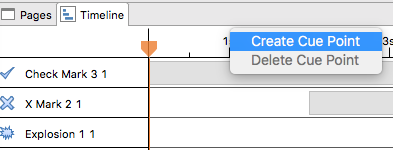
- The cue point is created. Notice that it is numbered.
Tip You can move cue points by dragging across the timeline.
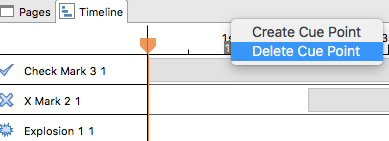
Delete a cue point
- Right-click the cue point and choose Delete Cue Point.
Use a cue point to fire an action
You can use a cue point point to fire an action.
- From the Actions Canvas, create or reuse a when block.
- Snap the on timeline cue # block into the when block.

- Create or snap a do block into the action to complete the action.
Control pausing and playing using the Player Bar object
If you want the learner to be able to pause or play a timeline you can insert a Player Bar on the page. The Player Bar is automatically associated with the timeline and will control the timeline.
- Using the Objects Palette, draw a Player Bar on the page.

Synchronize showing and hiding objects with audio
- Create timeline as desired.
- Add audio object to the page and to the timeline.
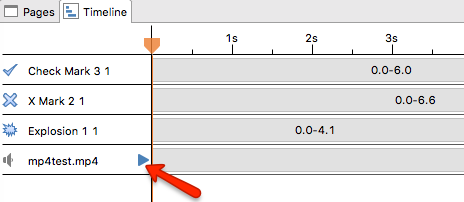
- From the timeline, click the play button to run the audio.
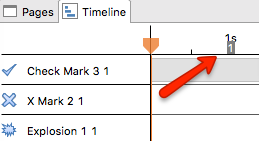
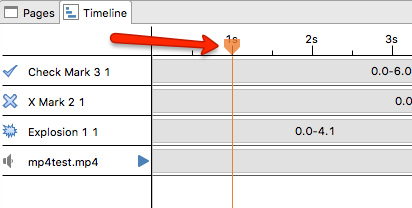
- Click the play head at the point where you want an object in the timeline to show. In the screen capture below, the play head was stopped at 1 second.
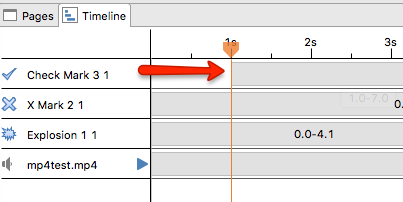
- Drag the desired object to the point on the timeline where you stopped the play head. In the screen capture below, the Check Mark 3 1 object has been dragged to meet the play head at the 1 second mark.
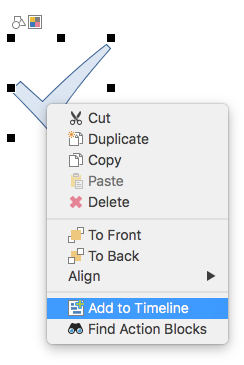
- Repeat as desired.