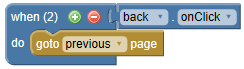
Navigation using Next and Back buttons should normally be set up on a master page rather than on each normal page. By placing these buttons and actions on a master, the logic only needs to be set up once, which saves time and makes editing the actions easier.
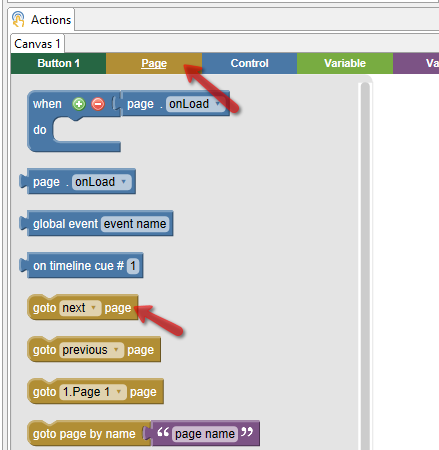
There are two action blocks that allow you to jump to different pages in a lesson:
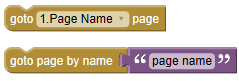
Typically, you should use the goto  page block, which provides the following benefits:
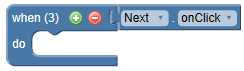
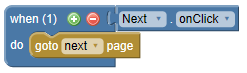
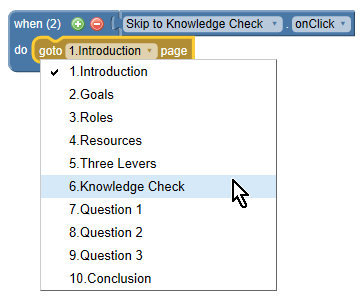
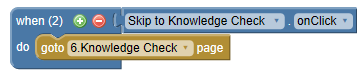
To create an action using the goto page block:
 page block and snap it into the action

The  is typically used for jumping to a page based on a bookmark retrieved from an LMS. For example, when a lesson initially loads, you might show a dialog telling the learner that they have a bookmarked page and ask them if they want to use it. An action to go to the bookmarked page would look similar to the following:
